Friday, August 26, 2011

Measure Twice….Cut Once


I’ve had the worst head cold in the history of the world, my first for the year and I had just been thinking a few days earlier that I’d been lucky because I’d gotten through the winter unscathed. I jinxed myself. Nasal spray is my new best friend.

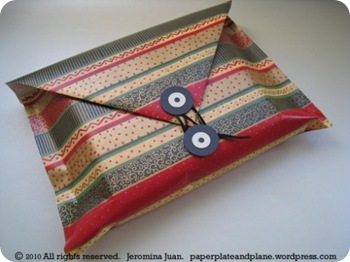
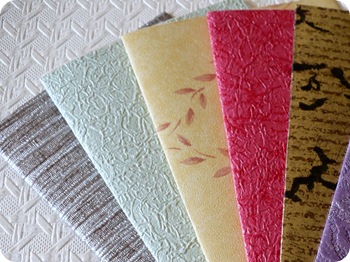
Anyway not having the energy to do much of anything I was just trawling through the internet looking at different things and came across this and it got me thinking about my wall paper sample books (I have enough samples to cover 20 houses) and the little gift tags I’ve been making of late. The instructions for this particular pretty envelope are here, my instructions are almost the same, but I omitted the closure.
creative-gift-wrapping-spooled-package-01

So lying in bed and trying to breathe through my mouth I formulated a plan.

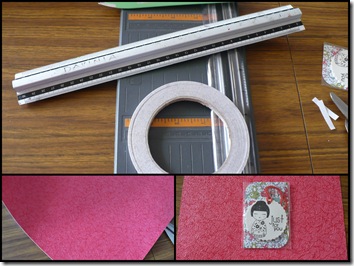
You’ll need:

paper, it can be scrapbooking paper, paper from magazines etc. as long as it’s fairly sturdy.
paper trimmer, or scissors
ruler
double sided tape
a bone folder
Envelopes

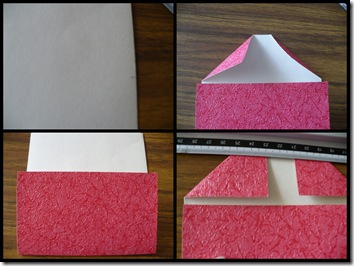
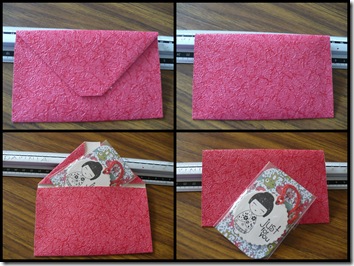
In order for my tags to fit, I cut my piece of wall paper 21.5 cm x 13 cm (8.75” x 5.5”)

Envelopes1

The blurry photo top left is showing a pencil mark I made 15.5 cm (6.25”) up the side. I then folded the paper up to that mark and rubbed the bone folder over it to get a nice sharp fold. The top of the envelope is showing in the two right hand photos. Leave a small amount of space between the long straight edge and your triangles so it folds over neatly.

Envelopes2

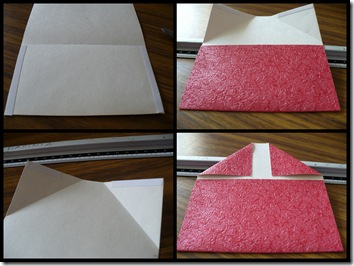
Apply double sided tape down the edges of the body of the envelope and along the top of your triangles. Fold everything together and give it another going over with the bone folder.

Envelopes3

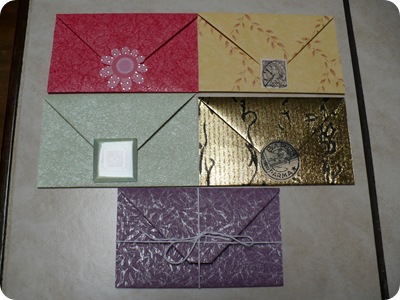
And there you have it. Home made envelopes.

Envelopes4

P1030392-1

P1030393-1 

P1030394-1

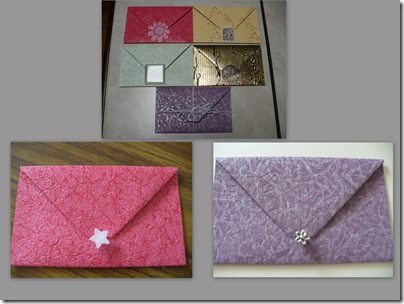
To keep the envelope closed you could make the closure the same as the top envelope which I think looks very classy. Or you could use stickers, attach little charms, tie pretty ribbon around it, or just plain sticky tape which is what I’ll probably use.

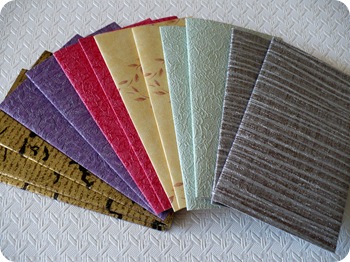
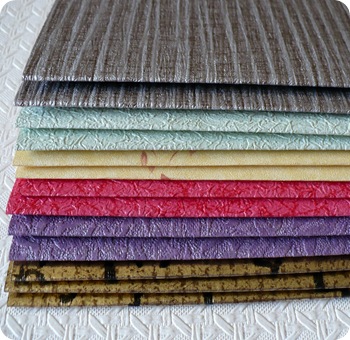
They’re fairly quick to make and these that I made with wall paper are pretty sturdy.

P1030391-1

So this is what I’ll be doing the next few days, it’s not too taxing and it’s about all I’ve got the energy for at the moment.

Technorati Tags: ,

Wednesday, August 24, 2011

Bead Soup and Some Interesting Finds


Now that Janet my Bead Soup partner has received the beads I sent her I can show you the soup ingredients I chose for her.

P1030323-1

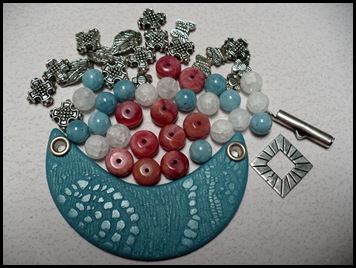
A crescent shaped polymer clay pendant that I textured and beads in shades of dusky pink, blue jade and white crackle beads and various silver charms and silver toggle and clasp. I’m really looking forward to seeing what she creates.

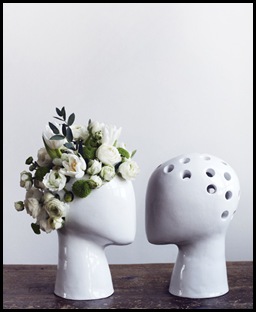
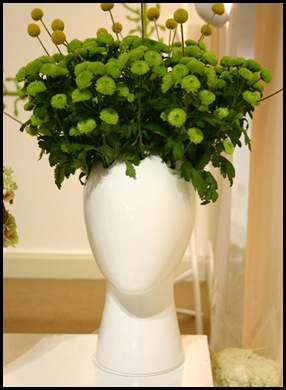
Here’s some quirkiness for you. This would be a great conversation starter to have in your living room.

 flower pots 1 

flower pots 2

There’s more information here.

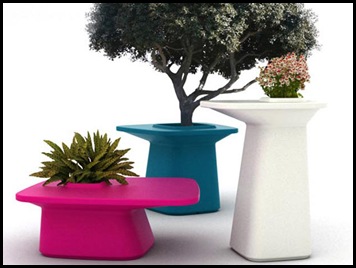
I covet these.

SummerFurniture-3

So simple, colourful and innovative. Read more about them here.

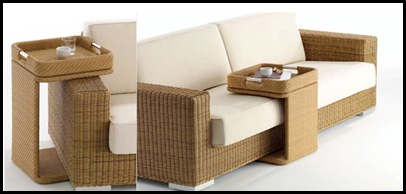
And last but not least.

SummerFurniture-2

Fabulous, functional furniture. Isn’t this great? What a brilliant idea, for more information click here.

Wednesday, August 17, 2011

Featured Designer


Well I was thrilled to find out I was the featured designer on Love My Art Jewellery blog this week. They featured my gift tag that I entered in the Art Spark challenge. The challenge was to design something that makes you happy. You can see it here. It’s such an uplifting feeling to have your work acknowledged I must say.

Well yesterday was a very long day. I had to put my car in for a service and Honda have a courtesy driver who will drop you off where ever you’d like (within reason) and then pick you up when your car is ready. So I decided to go to the nearest shopping centre and wander around. Little did I know I’d be wandering for 6 hours. Ever strolled around a shopping centre for that long? I tell you I was exhausted and bored out of my head by the time I was picked up.

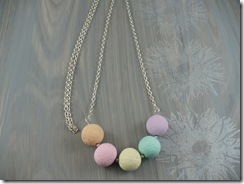
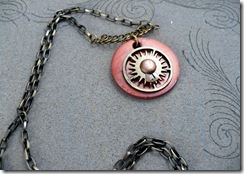
But I did buy something that led to a painting frenzy this morning. I usually use cardstock as a background when taking photos of my jewellery, but it’s starting to get a little tatty and I was looking for something a little  more robust that I could use.

That’s when I spied these.

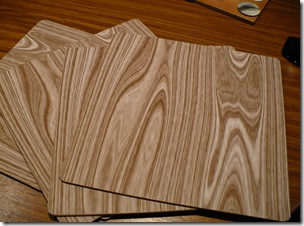
P1030341-1

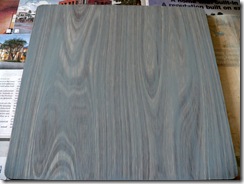
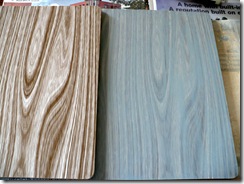
El cheapo placemats from the Reject shop, 4 for $9.00. I liked the wood faux grain pattern on them but it was a bit too busy. So while I was sitting down having a coffee and resting my very sore legs all kinds of ideas jumped into my head.

 P1030346-1   
P1030347-1

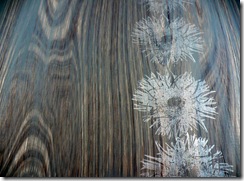
I sanded  then painted a soft grey over it and added some subtle stamps.

P1030363-1
P1030364-1

I don’t know how well it will stand up to wear and tear, it remains to be seen.

The rest of the mats I painted the back (cork side) with various shades of grey and stamped.

P1030356-1
P1030354-1

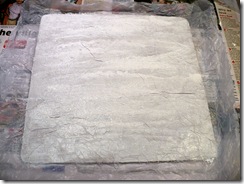
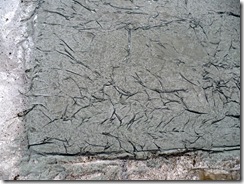
This one took the longest. I used gesso and while it was still wet I scrunched up tissue paper then smooshed it down over the paint, painted more gesso over the top and then dried it with the hair dryer.

P1030344-1
P1030352-1

More coats of paint, sprayed it with Adirondack Colour Wash, didn’t like it, sponged it off but then it looked like it had grease marks all over it so I used Stazon Sone Gray and lightly smeared over the crinkles.

P1030367-1

P1030368-1

If you are so inclined, you could probably pick up placemats at an op shop or you may even have some lying around at home that never get used anymore.  I’ve got a few more ideas floating around in my head, now I just need more mats.

Sunday, August 14, 2011

Three Different Pieces


I made myself make stuff today. Now the house looks like a hurricane has blown through the doors because I have bits and pieces everywhere. You see I start something, then while I’m in the middle of doing it I get a brain click which leads me to something else, which requires a whole new set of tools, materials and the never ending search for a clear horizontal space to work on. So the dining room table, coffee table, kitchen bench, another table in the family room and I’m embarrassed to admit, parts of the floor are now strewn with the flotsam and jetsam of my creative pursuits. What about my desk? Well you might ask……..it’s a complete disaster.

So what was born of all the chaos?
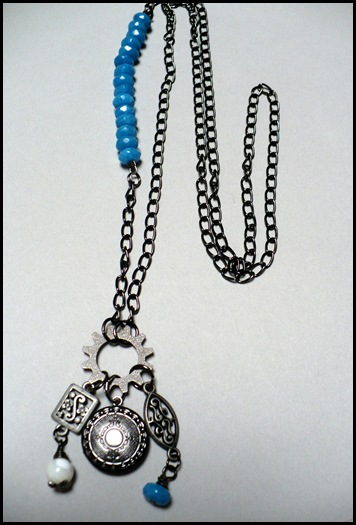
No polymer clay in this one. Blue jade beads, a locket, charms and a steampunky do-dad.
P1030325-1 

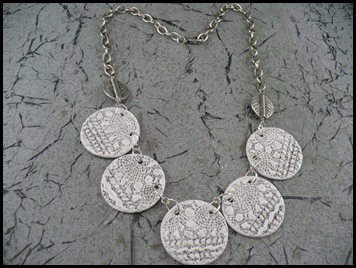
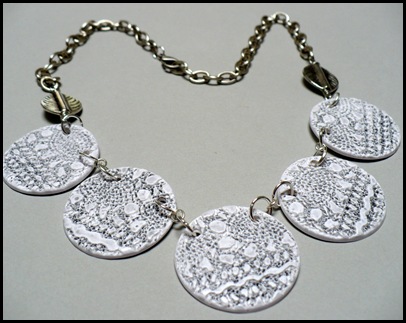
And then there is this. You may remember one of my recent  posts where I used lace to texture some clay, well I made more and turned them into this. I really like this effect.

P1030329-1

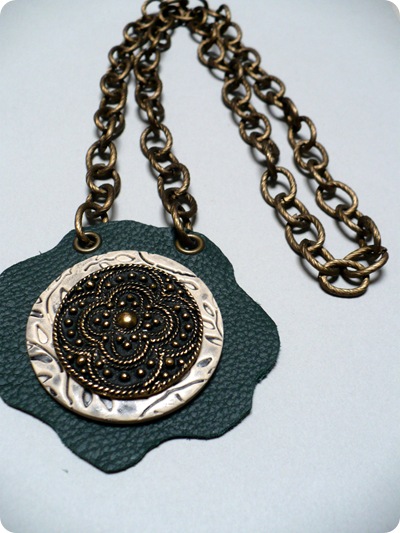
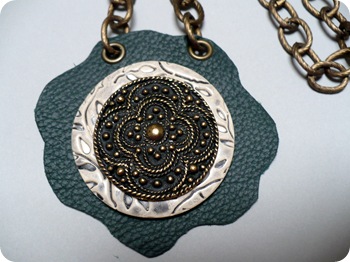
And last but by no means least, I played around with some leather, clay and a found object and came up with this.

P1030333-1 

P1030334-1 

Terrible photos I know, but it was a dreary morning when I was taking these photos and because I had used up all the available surfaces there was no room to set up my light box.


Thursday, August 11, 2011

Who Would of Thunk It


Peoples creativity and ingenuity never fail to surprise, delight and intrigue me.

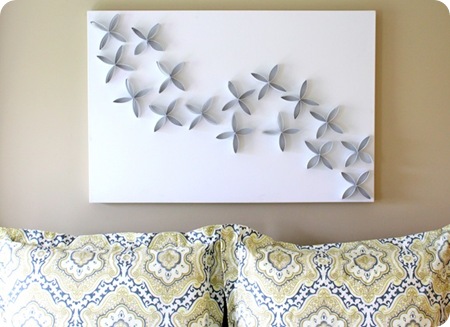
I love this…..and from the simplest everyday item that usually gets thrown in the bin……cardboard toilet rolls.

Toilet Roll art 
This is from just a girl blog and the instructions are on her blog.

Now I can see you all running off to Bunnings or your nearest paint store for this idea. You know those paint swatches, the ones you come home with and agonise over which colour to paint the walls. Well just turn them into a gorgeous piece of art.

DIY-wall-art-paint-chips

This comes from how about orange blog with full instructions too.

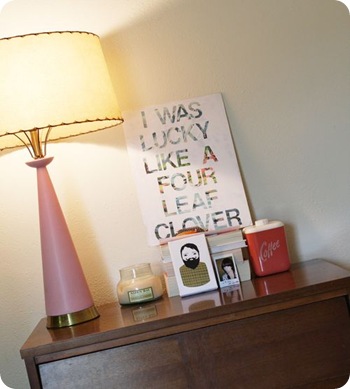
Here’s a great way to recycle an old print or an ugly painting you picked up from the op shop or road side rubbish collection.

Stencil art

Stencil wall art and it couldn’t be easier. This is from a beautiful mess blog with full instructions.

So these clever ideas should keep you busy over the weekend. I’m going to start saving toilet rolls…….how about you?

Wednesday, August 10, 2011

Bead Soup Blog Party


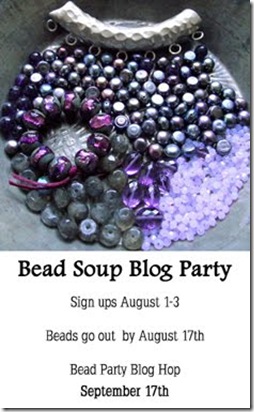
I’ve joined the the Bead Soup Blog Party. The wonderful Lori over at Pretty Things has done an amazing job of organising this huge event. I think there are over 300 participants from all over the world.

Bead Soup

The idea is you are partnered with someone and send off a collection of beads, a focal, a clasp and any other bits and bobs you feel your partner may like and be able to use.  It’s a great way to stretch your creativity and step outside your box and to also meet some wonderful peolple. They do the same and then on September 17th it’s the big reveal. You display your piece of creativity on your blog and then go off and visit as many other blogs as you can to see how each person has interpreted their bead soup stash.

I’ve been partnered with a lovely lady named Janet in Texas. Janet makes beautiful lampwork beads so I’m really excited to see what she sends me and a little nervous too……I just hope I can do her beads justice. Janet’s blog is http://janet-singingwoods.blogspot.com/ stop by and from there you can visit her Etsy shop too.

I can’t show you what I’m sending Janet, it has to be a surprise for her so don’t forget to check back on Sep 17th.

Technorati Tags: ,

Thursday, August 4, 2011

Earrings, Gift Tags and Challenges


So in between the gift tags I’ve made a couple of pairs of earrings. Gotta keep my hand in with the jewellery making or I’ll get rusty.

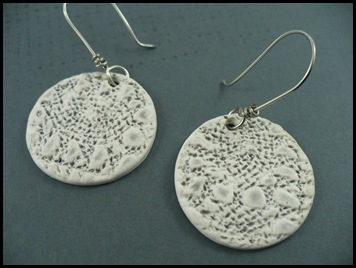
This fist pair I’ve textured with lace. Condition the clay, lay some lace on top of the clay and roll it back through the pasta machine and interesting things start to happen.

P1030319-1

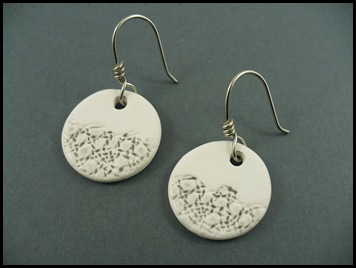
Same with this pair, only half are textured.

P1030322

Then I glazed them with grey and even made some wire wrapped (aren’t you proud of me Tish) earring wires and I have to say I’m loving them.

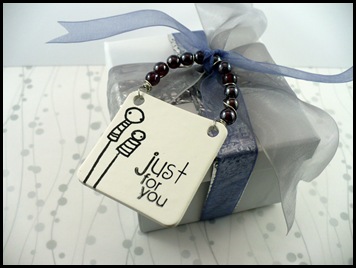
Sorry to bore you with these again but I’m entering the Art Spark Challenge over on  Love My Art Jewelry  Blog. The challenge is to create something that makes you happy. Well I’m always happy giving presents (happy gettin’  'em too) and when you can add a touch of  artistic whimsy to them like these gift tags, well it’s even better.

P1030316-1

I even added a beaded and wire wrapped loopy hanger thing-a-ma-jig. So if you get a chance, have a look on their flikr site to see some of the other entrants.

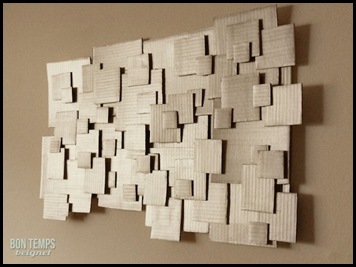
And here’s another DIY project that recycles cardboard and turns into an amazing piece of art for your wall.

cardboard wall art

The possibilities are endless. You could paint the pieces different colours, stamp them, texture them, emboss them and end up with a great piece of art for next to nothing. Head over to the blog for instructions and start your cardboard masterpiece right away.

I might make one of these for the wall in my studio……oh….that’s right, I don’t have a studio, but I’m getting close.